


Looking to cosplay Rose Quartz, or even Connie, and need to know how to make an awesome sword? pkloveboing has just the tutorial for you!
MAKING ROSE QUARTZ’S SWORD
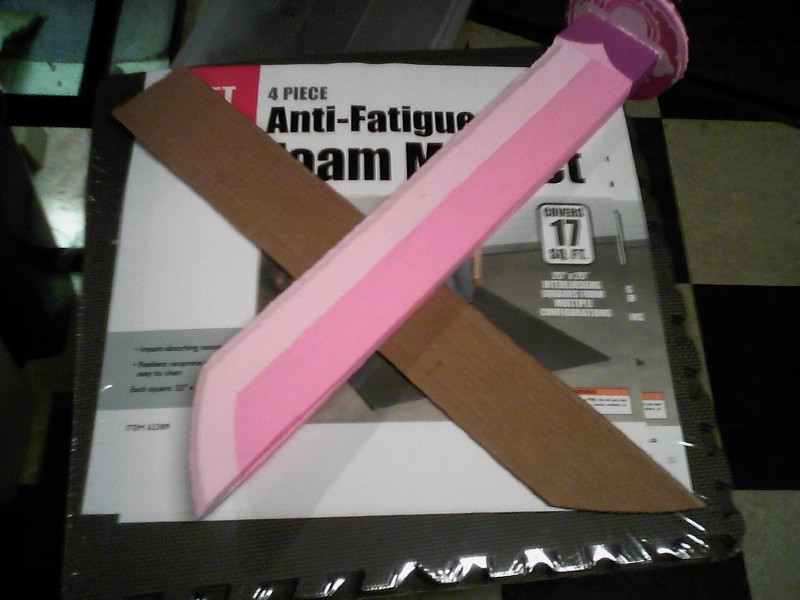
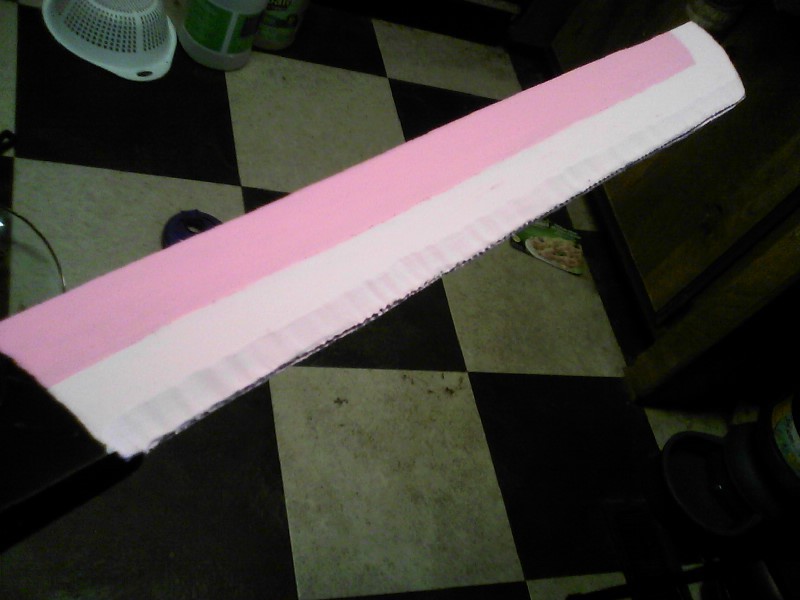
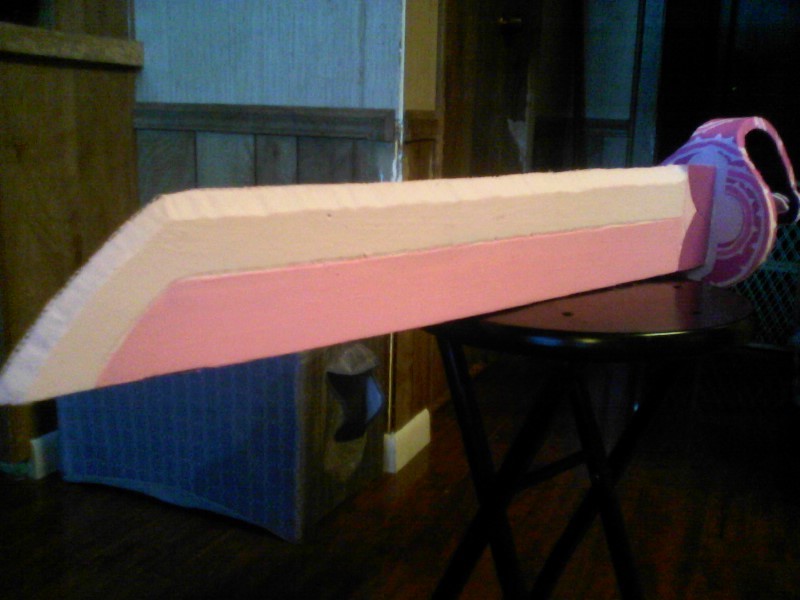
Pic 1 - I used the foam mats pictured. They are from Harbor Freight, it’s known as EVA foam, and is about 1/2″ thick. I cut out a cardboard version of the sword first,like a rough draft. To make the sword as long as possible out of one piece of foam, I had to cut it out diagonally. This is the cardboard version I used with the finished piece!
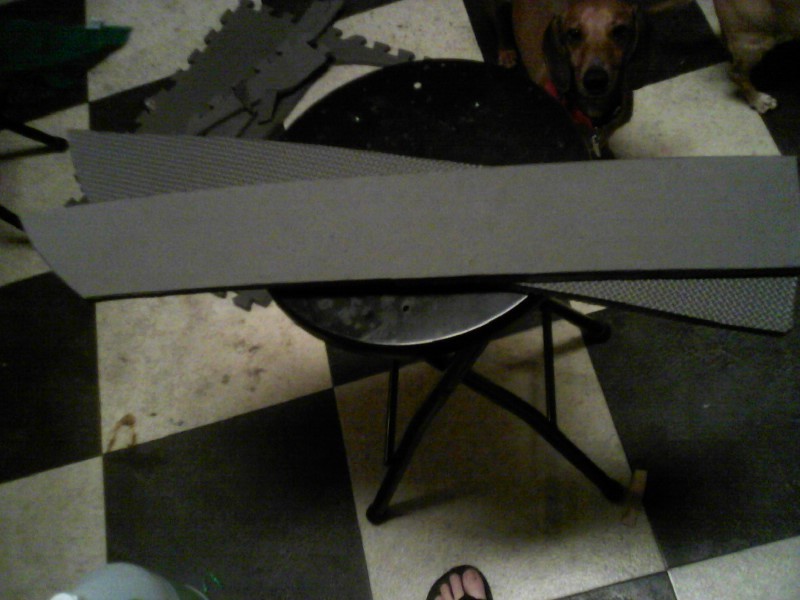
Pic 2 - Cut out TWO slices of foam, one for each side. You can use high-power scissors or exacto/drywall blades.
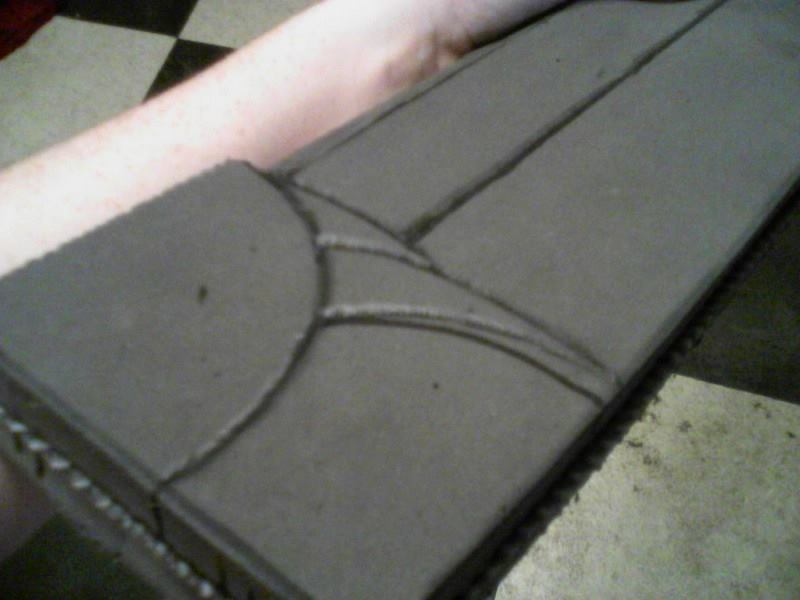
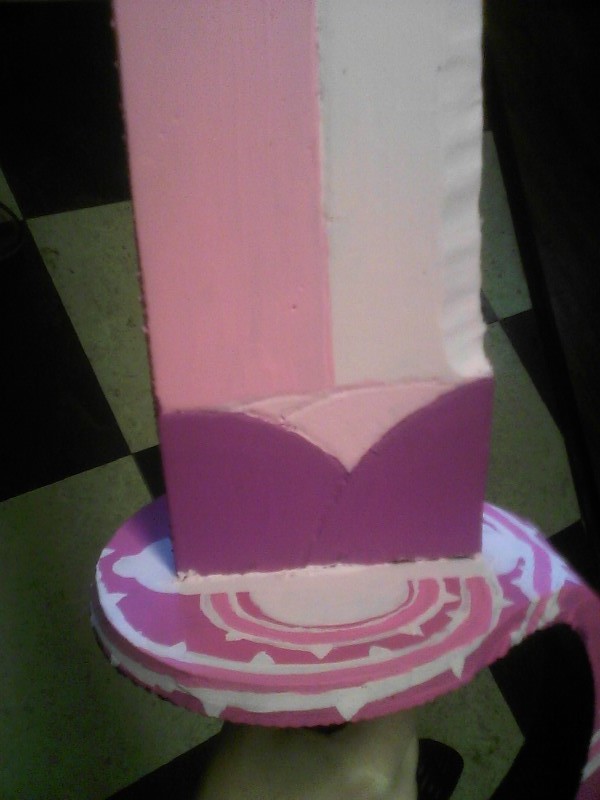
Pic 3 - Close up of the detail near the base of the blade. The sword has those petal-looking parts. I used my Dremel lightly to make these indentations.
Pic 4 - Carving out a channel for the wooden dowel to go through. It forms a handle and keeps the blade stiff. Again, I used the Dremel for this, though there may be a few other methods to make this possible.
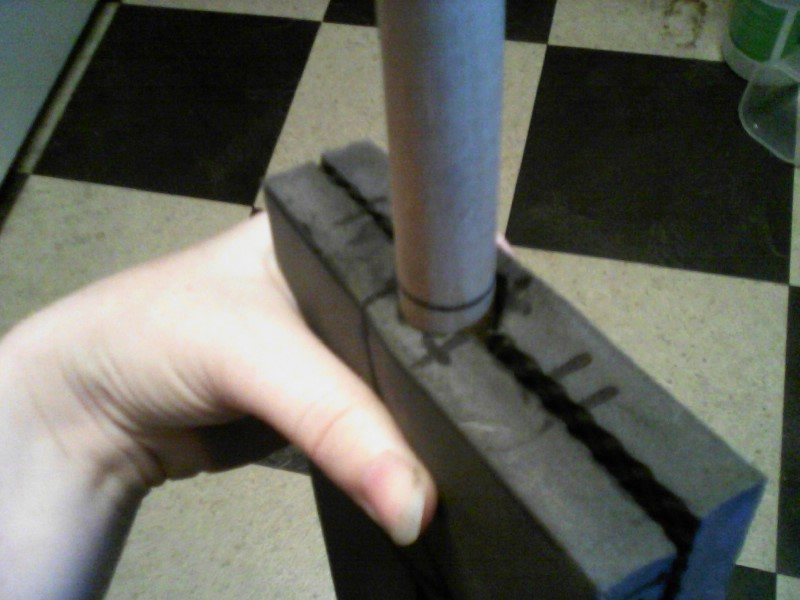
Pic 5 - The dowel/core of the sword sandwiched between the two sides. The whole thing is hot glued together. The dowel is somewhere between 1/2″ and 5/8″ so I had to carve a little more than halfway through the foam! Now, I KNOW this is not an ideal core for a foam sword, and if it breaks, there is pretty much no fixing it at all. So this is unfortunately not a LARP-ready sword. There ARE different cores made for LARP foam swords that are flexible and won’t break easy, this is just what I used. I think other ones are made out of fiberglass or something. If you want that, do the extra research and find where to get them. I just need to be gentle with it.
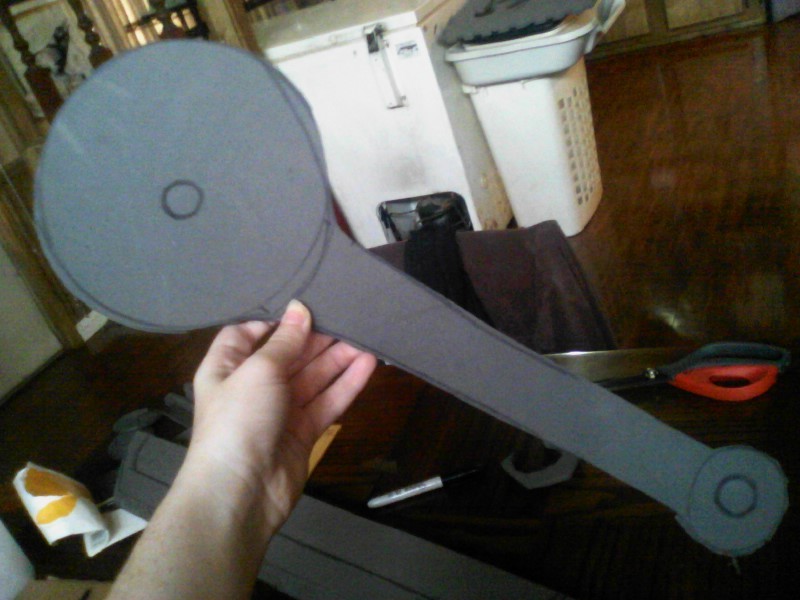
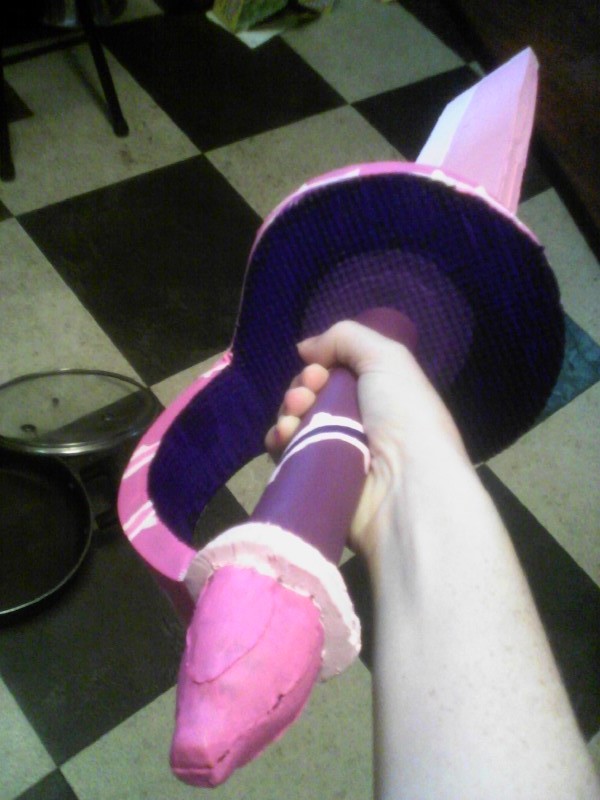
Pic 6 - This is the guard. I used a dog food bowl to get the circle right. I pretty much guessed for the length of the guard. I used my Dremel to bore out holes to stick it through the dowel.
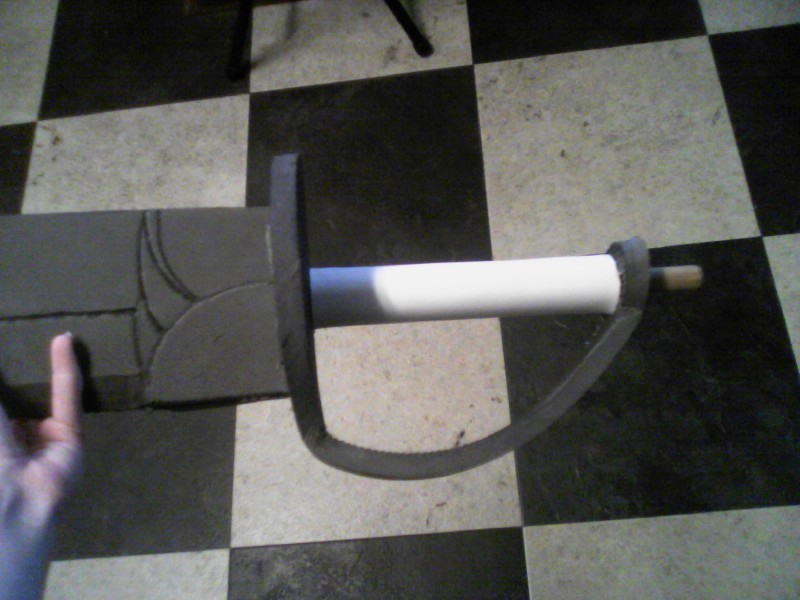
Pic 7 - Here I have the guard put on. For the actual handle part, I used a strip of super-thin craft foam, wrapped around several times. It adds to the thickness of the handle and is pretty comfortable and squishy.
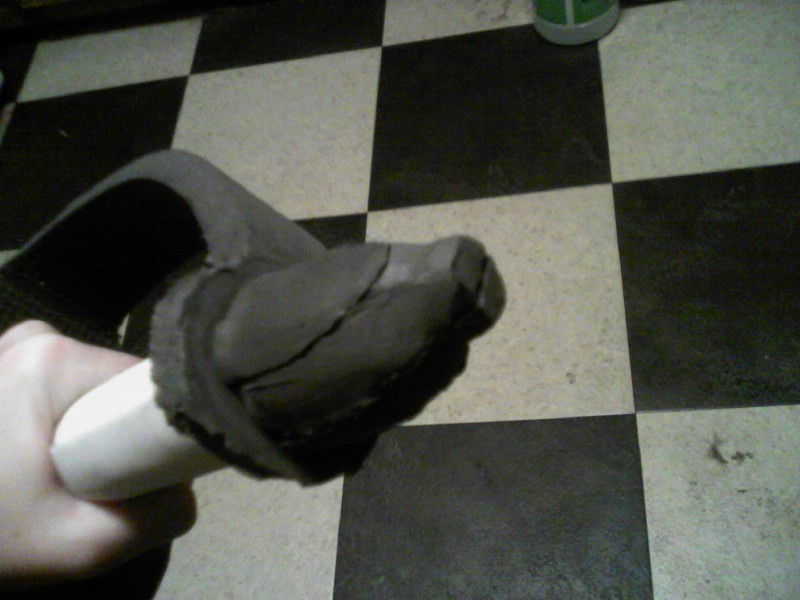
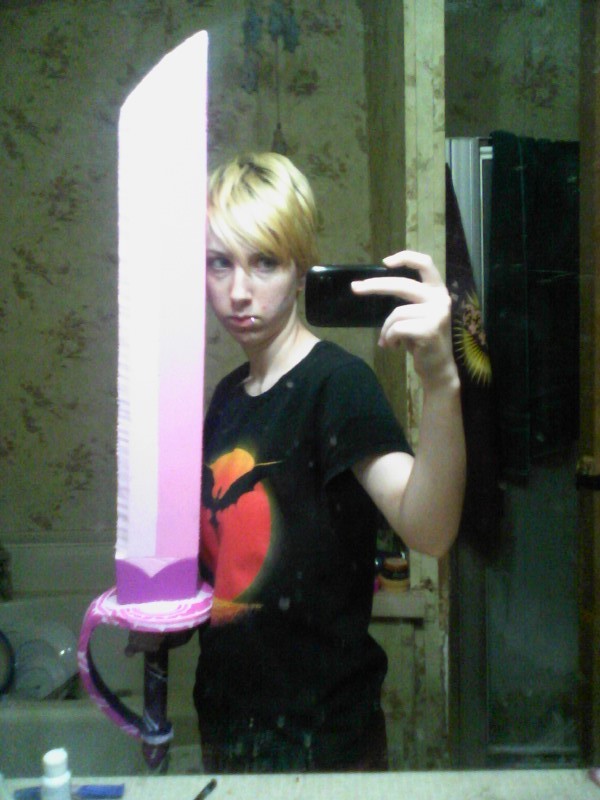
Pic 8 - The rose-shaped pommel of the sword. This is four little pieces of foam glued together and Dremeled into a roughly rose-shaped piece. It’s a bit rough but I’m happy with it.
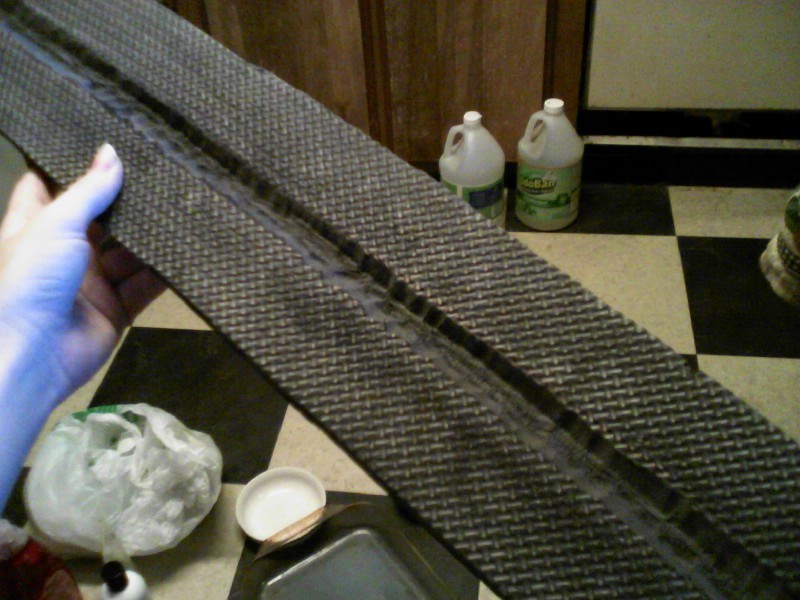
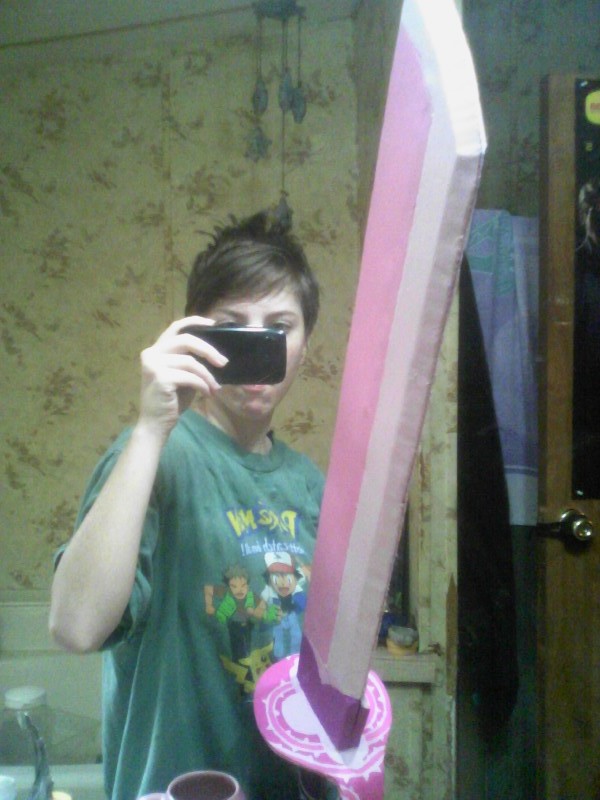
Pic 9 - This is the best picture I could find that shows the edge of the blade, also smoothed down with the Dremel. This is one time you could easily use sandpaper in its place. It’s a little rough, because this is one of the first things I tried the Dremel on.

Pic 10 - Before painting, I first used Plastidip on the foam to seal it and keep me from needing a million coats of paint. Bare foam tends to soak up some paints. I’ve mentioned this stuff in my other tutorial posts, and they have pictures of a can of Plastidip in them. I’m out of space for pictures on this post. Use a minimum of two coats, three or more and you’re gold.


Source
Twitter: Emerald


